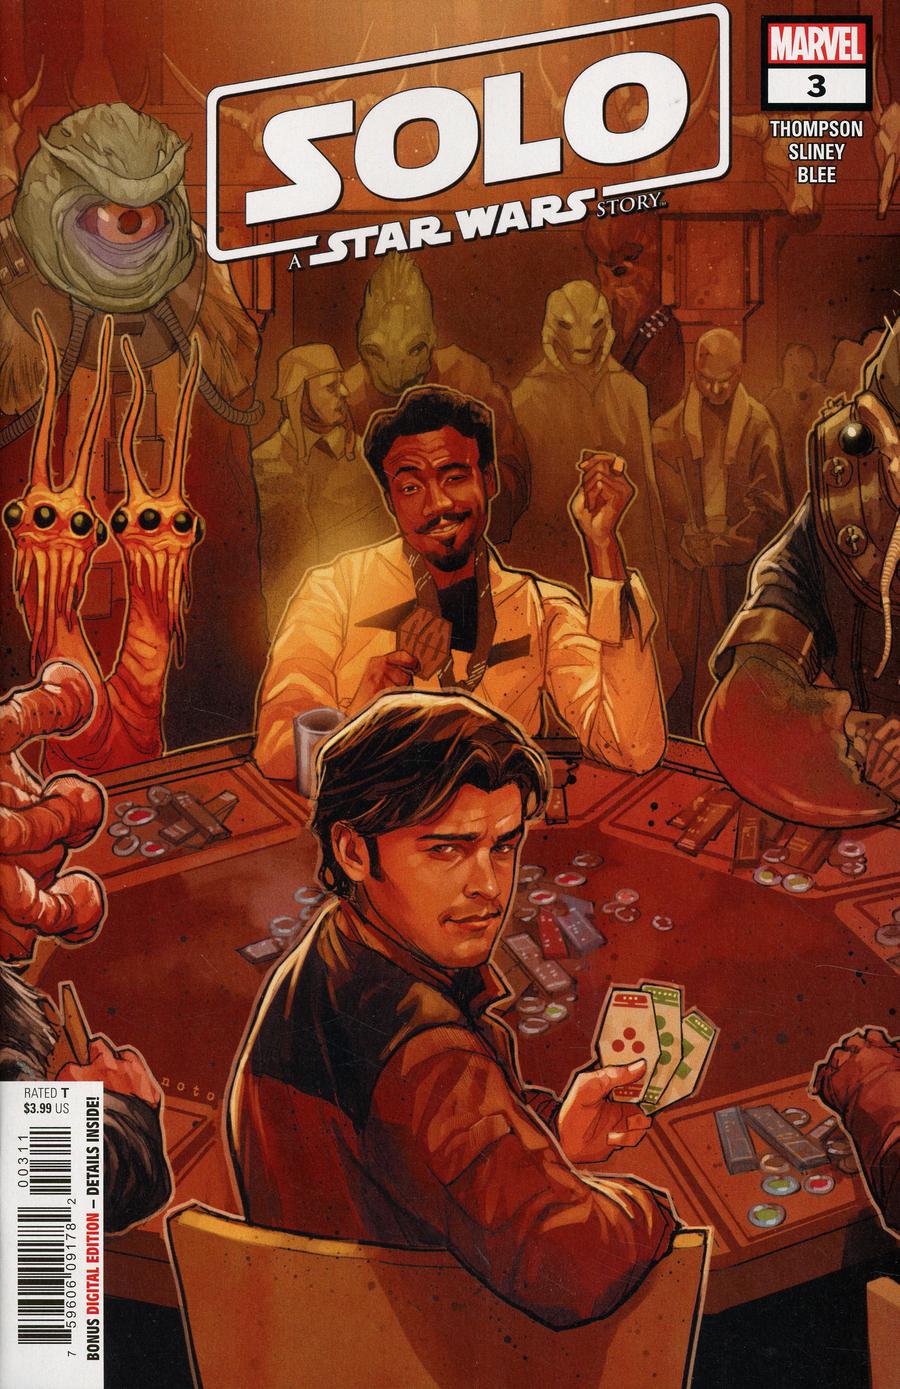
Solo: A Star Wars Story #3 Review

Writer: Robbie Thompson
Artist: Will Sliney
Colorists: Federico Blee, Stefani Renee, Andres Mossa
Publisher: Marvel
Solo: A Star Wars Story #3 continues Marvel’s comic adaptation of the 2018 film and hits its stride in a better-paced, dialogue-heavy installment. This issue primarily tackles the movie’s setup — from the meeting on Dryden’s yacht to the introduction of the Falcon.
The first two issues of Solo have suffered from a wordiness and strict retelling of the script that clashes with a shortage of space for all that text. Solo #3 is almost entirely plot and exposition, and it suits this series well that the issue’s “climax” is banter over a game of Sabacc. We've slowed to a frame-for-frame pace where the wordiness no longer feels wasted or imposes on the action.
There’s still next to no original material; only the opening page contains anything beyond what was shown in the film. It’s great to see more of Qi’ra’s time off-camera between her capture on Corellia and her reemergence on Dryden’s yacht. (She should be the one with her own miniseries instead of the second Solo mini that Marvel is currently running.) But with only a few panels, her appearance is short, safe, and it doesn’t tell us anything about the character we didn’t already know from the film.
The art in this series has taken an interesting arc. It seems to have lost a little of the first issue’s workmanship, but the artistic choices have improved — for the most part. The hazy bar where Han and Lando play Sabacc doesn’t translate well with this style — these pages are muddled and dull. It’s too bad because the scene also contains some of the better line-work of the series so far.
Nothing has really changed or improved in Solo #3 but, despite itself, the longwinded style lends very well to the setup scenes adapted here. Paired with more consistent art and a quick flashback that provides some detail from beyond the frames of the film, this is the most effective issue the series has produced yet.
A Look Inside